This is an advertisement. The offers featured on this site are from companies from which this site receives compensation. This also influences where, how, and in what order such offers appear.
SlimCleaner Plus “Virus” Removal
August 7, 2019
SlimCleaner Plus is software that claims to optimize system memory, but frankly does the opposite. A number of users have reported that the application is dubious and tricks people into buying an inefficient service. In this article, we will discuss what the SlimCleaner Plus “Virus” is and how you can remove it from your computer.
Advertising Disclosure: Many or all of the companies featured provide compensation to us. These commissions are how we maintain our free service for consumers. Compensation, along with hours of in-depth research, determines where & how companies appear on our site.
You can now get all the great benefits of anti-virus protection without spending money or waiting for a sale. Check out how you can protect iOS and Android devices and much more.
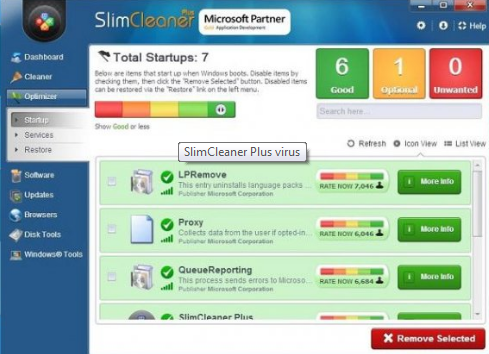
SlimCleaner Plus is a product from Slimware Utilities. The application offers a manual system for cleaning computer memory. In the beginning, the program offers startup optimization and other basic optimization features for improving the performance of your device.
However, later, the application then starts persuading users to buy the premium version for $29.97. It claims that users will be able to benefit from unique features such as power management, quick system scan, and performance boost modes.
The application won’t stop pestering users unwanted startup item alerts unless they the premium version. However, regardless of how many extravagant claims it makes, the optimization tool will bring no improvement your device.
Developers of the application brand their product through false advertising. The official page of the product claims that they are partners of Microsoft. On the contrary, Windows utilities such as Windows Defender categorize the SlimCleaner as a dubious application and warn users from installing it. Still, some users get tricked with the application’s false advertising and buy the product.
Although SlimCleaner Plus claims to be an optimization tool, it ironically does the opposite of that. Like many other unwanted software, the application decreases the performance of a computer significantly. After installation of this tool, user devices will suffer from slow performance, long software latency, and frequent lagging.
This is the reason why a number of people consider SlimCleaner Plus a virus. However, the product is not as malicious as a full-blown virus and experts term it as a potentially unwanted program PUP, instead.
There are several reasons you should SlimCleaner Plus. Besides tricking you into buying a worthless product, the programs will severely disturb your normal activities. Since the application is pretending to be an optimizing tool, it presents reports of the system’s performance.
However, these reports are often predetermined and don’t paint an accurate picture. The application distorts these reports and exaggerates the problems in your system’s performance. People unwittingly fall into its trap and buy the product. After the user pays $29.97 for the premium version, the application displays a list of made-up malicious items it has cleared.
The application’s only real function cleaning the Windows Registry. However, even this ends up damaging your system in the long-run. The thing is that rogue optimizing tools such as the SlimCleaner Plus remove outdated or corrupted entries from the system registry.
Ideally, this should improve the performance of your system and on rare occasions, it even does that. However, meddling in the system registry creates vulnerabilities in the system. These vulnerabilities increase the chances of your system crashing down and make it easier for dangerous viruses to infect your system.
Unfortunately, the risks of this software don’t end here. The tool also records details about its victims and then uses for data tracking. The application has also been known for delivering commercial content and pushing further PUPs in the operating system.
After you download SlimCleaner Plus, the application will continue to show advertisements in various forms. Victims will have to bear pop-up ads and banners imported from the websites they recently visited.
Besides that, the application will also redirect users to other suspicious websites. These websites are often places where SlimCleaner Plus developers and associated advertisers gain access to your online browsing data.
This kind of intrusive data tracking leads to a number of privacy issues. However, this situation is even more alarming because the official website of the application, openly accepts that it shares your personal information with third-parties.
Protect Your Devices Today!
Cyber attacks can happen at any time and when you feel protected. Total AV offers the protection that you need but won’t break the bank. You can get the free security and peace of mind that millions of other people around the world use daily. With security that you use every day, you can rest assured that there is someone looking out for you. Download a free copy of Total AV Today!
The SlimCleaner Plus application is not a virus on its own but a scam that poses as a memory cleaner. The application tricks users into buying its product even though it does nothing to improve the efficiency of your system.
SlimCleaner Plus poses a medium risk because it extorts money by displaying fake performance reports and creates vulnerabilities that other viruses exploit.
Symptoms
The SlimCleaner Plus does not operate covertly, and it’s likely that you have downloaded it yourself. After installation, you device will notice a decrease of performance in your device. Users will consistently receive pop-ups asking them to buy the premium version of the software. The application will also issue fake alerts about vulnerabilities in the computer’s security system.
Distribution Method
In most cases, users are tricked by the false advertising of the software and install it by themselves. However, the application can also get into your system when you install software packages from dubious online sources. The SlimCleaner Plus fake antivirus is native to the Windows operating system.
Detection Tool
The SlimCleaner Plus application does not require any detection tool as it poses as a legitimate optimization tool. However, you still need a reliable antivirus solution to undo the mess created in your system by the tool.
Moreover, you need to remove core files of the software to prevent it from making a comeback. TotalAV antivirus is the best tool to remove all potentially unwanted programs from your device. Also, TotalAV is has a useful disk cleaning function that optimizes a computer’s performance by eliminating unnecessary files. Opposed to the SlimCleaner Plus application, it actually does what it claims. Download TotalAV by visiting the company’s website download page.
SlimCleaner is misleading software and you should waste no time to remove it. However, you still need to take steps to optimize the performance of your device and strengthen its security.
1. Removing SlimCleaner Plus
Removing SlimCleaner Plus from your device is a straightforward procedure and will take only 10-15 minutes. Follow the steps below to remove the SlimCleaner Plus application from your computer.
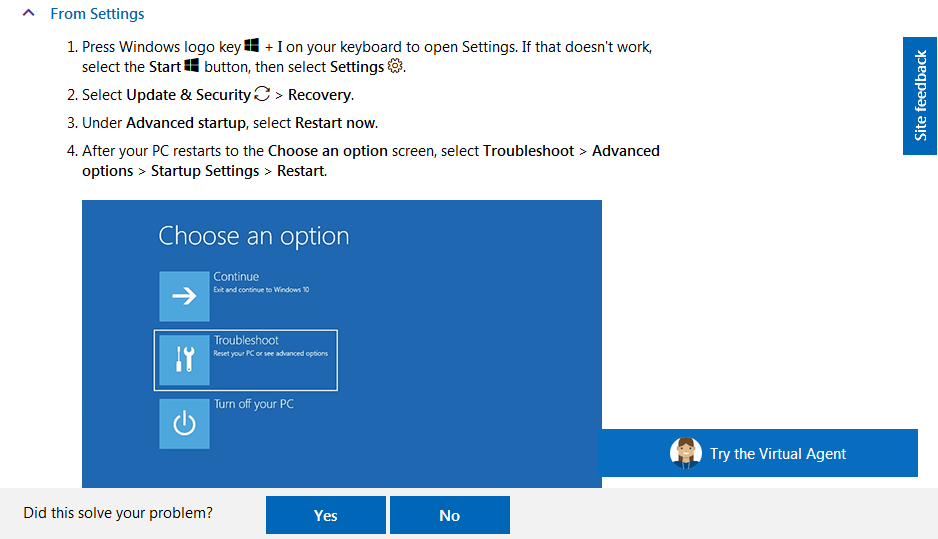
Step#1: Reboot in Safe Mode
First of all, you will have to restart your computer in safe mode. For that, you have to close this page temporarily for future reference. You can do that by clicking the symbol beside the address bar of your web browser. If you don’t know how to restart the device in safe mode, just follow this guide for Windows 7. Windows 8 and 10 users can reboot Windows in Safe Mode through this guide from Microsoft.
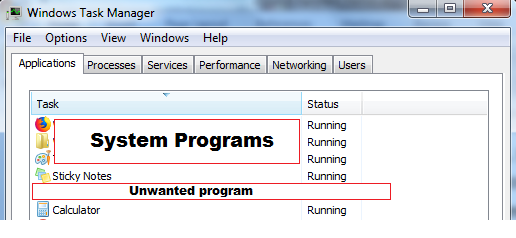
Step#2: Check the Task Bar
After the reboot, press the shortcut keys “Ctrl + Shift + Esc” at the same time. This will open the taskbar. Here, you’ll be able to see which applications are putting strain on the computer memory.
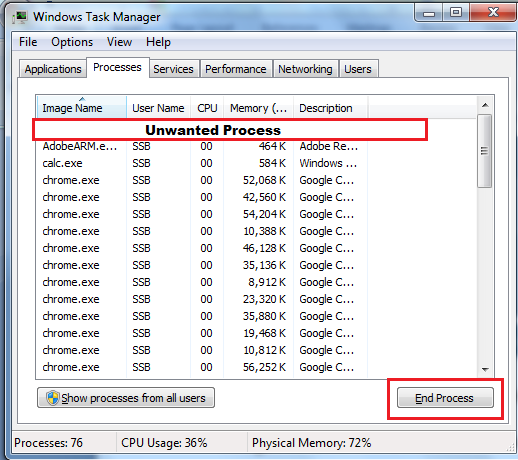
To end the processes that are consuming extra memory, click on the Processes tab if you have Windows 7, whereas users of Windows 8 or 10 can choose select the Details tab. An unwanted application can run multiple processes in the background, so you need to shut down every task. Select the process you have to terminate and click on End Process.
Step #3: Uninstall from Control Panel
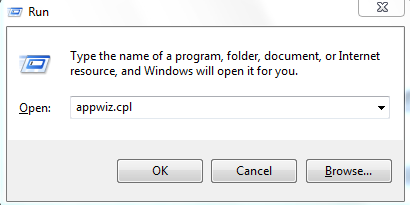
Ending individual processes does nothing unless you remove SlimCleaner Plus from your operating system. For that, open the Control Panel by pressing shortcut keys “Windows Key + R” simultaneously. Doing so will launch the run command interface. Type “appwiz.cpl” and hit Enter to open the Control Panel.
In the Control Panel, look for SlimCleaner Plus and hover your cursor over it. After that, press the right-click button to open further options and select Uninstall to remove the application.
2. Install a Reliable Antivirus
Removing SlimCleaner Plus will not end problems with your computer’s efficiency. Ultimately, you’ll have to replace the worthless disk optimizing tool with a solution that improves the performance of your computer.
TotalAV antivirus is a high-performing antivirus solution. Installing it in on your computer will ensure that your computer always remains virus-free. However, TotalAV has a number of unique features that make it more appealing than other antivirus services.
One of these features is a competent disc cleaner. The disc cleaner searches any duplicate files on your device and promptly removes them. As a result, you’ll have more space to use and less strain on your computer memory.
Moreover, the application has a Junk Shredder that deletes junk data that slow down your device. It also clears main folders such as Recycle Bin, Temporary Files, Cached Windows Updates, and Windows Error Reporting Files.
Step #1
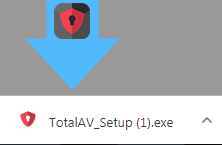
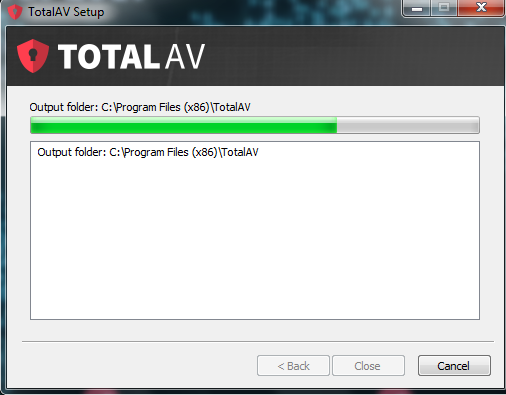
Go to the TotalAV download page and click on the ‘Download Now’ button to download the start the setup file.
Step #2
Click on the icon of the downloaded file at the bottom of the web browser to kick start the installation process.
Step #3
Click ‘Yes’ when the system asks your permission to install TotalAV.
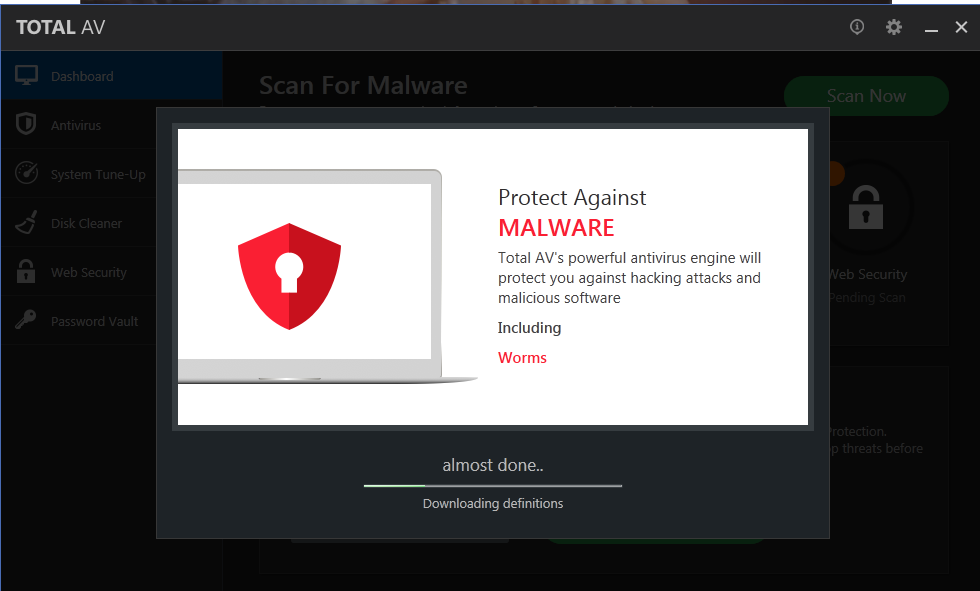
Step #4
After the initial installation, wait until TotalAV downloads critical updates.
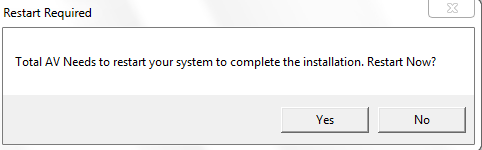
Step #5
The system will then ask you to restart the operating system, click ‘Yes’ to proceed.
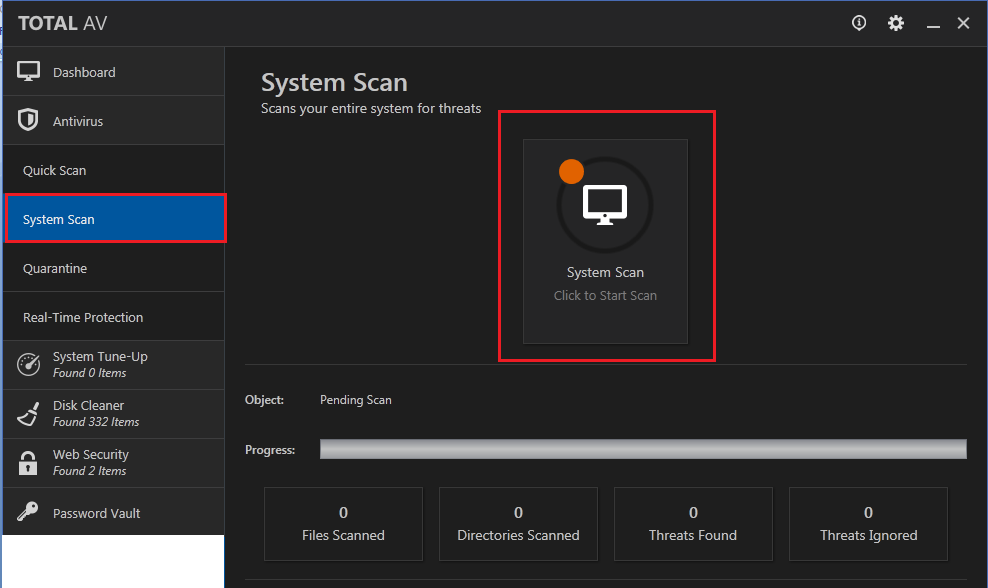
Step #6
It’s possible that some viruses have entered your system after the installation of SlimCleaner Plus. Therefore, you need to run a virus scan to remove any malicious programs that have sneaked in. Open TotalAV and select the “System Scan” option to start a full scan of your system.
Step #7
Act on the recommendations suggested by TotalAV and remove any unwanted application in your system.
Get Protection from Cyber Threats for Free!
Total AV is the best choice for anyone who wants online protection at a low price because you get free protection from the world’s top threats. When you download today, you even receive a 30-day money back guarantee. What are you waiting for? Get your free copy of Total AV Today!
The SlimCleaner Plus is an annoying application that misleads users into buying a worthless product. Using manual techniques to remove memory consuming programs is tedious.
Instead, we recommend our readers to install an all-round solution that give them a number of different features. TotalAV is a potent antimalware solution but also provides unique features for disc cleaning.
Not only will the application save its users from incoming security threats, but also optimizes your computer for greater performance. Contrary to selling your information to third parties, TotalAV allows users to benefit from a secure VPN connection.
Victims of this scam receive emails that threaten to release compromising images of them if they don’t pay up. Security experts dubbed these intimidating emails as the Blackmail Porn Bitcoin Email Scam. In this article, we will discuss why these threats are only a scam and how you can remove Blackmail Porn Bitcoin Email Scam from your computer.
Many people use parental control applications to monitor their kids’ online browsing activities. However, some of these applications can expose your child’s device to harmful malware. Covenant Eyes is a software designed for monitoring online activity. Therefore, it helps parents keep a check on their children’s browsing activities.
Nowadays, a number of online programs provide us with several features without charging us. Although it seems that these programs are free, that is not always the case. Some of them attract users by providing a free service and then leverage their user-base for sponsored advertising. In this article, we will talk about a similar service known as ‘WeatherBug.’ Find out how you can uninstall WeatherBug and end a stream of annoying ads.
Nowadays, software solutions are readily available for anything you might search on the internet. However, many of these products are not as good as their developers might lead others to believe. On the contrary, some of these products degrade the performance of devices and disrupt your experience. In this article, we will discuss a similar utility tool known as ‘DriverToolkit.’ Find out how you can uninstall DriverToolkit and free your device from an additional burden.